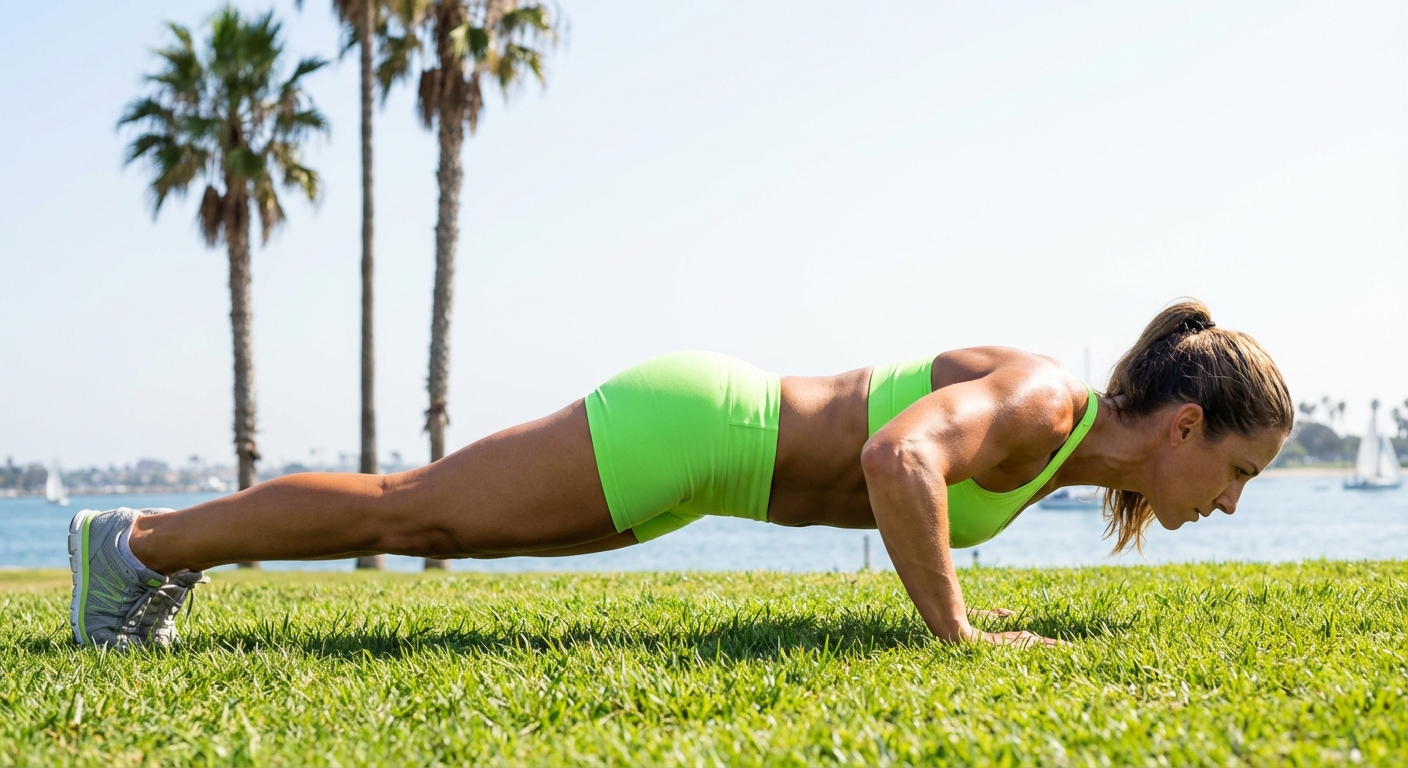
Push up
The foundational horizontal pressing pattern.
Biomechanics Analysis
Leverage System (Class 2)
The body operates as a Class 2 lever system. The fulcrum is located at the metatarsophalangeal joints (toes), the effort is applied by the upper extremities (glenohumeral joint), and the load (Center of Mass) is positioned between them. This mechanical advantage allows for significant force production, though torque increases as the hand placement moves closer to the hips (pseudo-planche mechanics).
Closed Kinetic Chain (CKC)
As a CKC movement, the distal segment (hand) is fixed against an immovable surface. Force transmission travels proximally: Palms → Radius/Ulna → Humerus → Scapula. This necessitates synchronized scapulohumeral rhythm, requiring the scapulae to retract on descent and protract fully on ascent.
Core Stabilization Dynamics
- ➤ Anti-Extension: Requires high-threshold isometric contraction of the rectus abdominis and obliques to counteract gravity's pull on the lumbar spine.
- ➤ Pelvic Alignment: Gluteus maximus engagement is critical to maintain Posterior Pelvic Tilt (PPT), ensuring θ ≈ 0° of lumbar extension.
- ➤ Energy Transfer: Rigid trunk stiffness prevents "energy leaks," allowing 100% of upper body force to translate into vertical displacement.
Muscle Map
Prime Movers
- Pectoralis Major: Sternal and clavicular heads drive horizontal adduction.
- Triceps Brachii: Responsible for elbow extension (final 30% of ROM).
- Anterior Deltoid: Assists shoulder flexion.
Secondary & Synergists
- Serratus Anterior: Critical for scapular protraction at the top lock-out.
- Coracobrachialis: Assists in adduction.
- Anconeus: Stabilizes elbow extension.
Global Stabilizers
- Rectus Abdominis: Prevents lumbar hyperextension.
- Gluteus Maximus: Sets pelvic position.
- Quadriceps: Keeps knees extended (locking the lever).
Execution Protocol
-
The Setup
Place hands directly under the shoulders or slightly wider. Extend legs back, feet together. Screw palms into the floor (external rotation torque) to stabilize the glenohumeral joint.
-
Create Tension
Simultaneously squeeze the glutes and brace the core (think of taking a punch). Pull the ribcage down. The body must form a straight, rigid line from head to heel.
-
The Descent (Eccentric)
Lower the entire body as a single unit. Retract (pinch) the scapulae together as you descend. Elbows should track at an angle of roughly 45° relative to the torso (arrow shape, not a T shape).
-
The Bottom Position
Descend until the chest is roughly 2-3cm from the floor. Maintain neutral cervical spine alignment (look slightly ahead of hands, not tucked under).
-
The Ascent (Concentric)
Drive the palms through the floor. Maintain core rigidity to prevent hips from sagging. As you reach full extension, actively protract (push apart) the scapulae to fully engage the serratus anterior.
Common Mistakes
| Error | Correction | Consequence |
|---|---|---|
| Sagging Hips | Posterior pelvic tilt; squeeze glutes and abs harder. | Lumbar spine stress; reduced core activation. |
| Flared Elbows (90°) | Tuck elbows to 45° or closer to ribs. | Shoulder impingement; reduced pectoral loading. |
| Chicken Necking | Keep chin tucked, imagine holding an apple under chin. | Cervical spine strain; false perception of depth. |
| Winged Scapula | Push the floor away at the top (protraction). | Instability; weak serratus anterior development. |